Node-red is flow based programming for Internet of Things. It's a very versatile development tool focused mainly on IoT. Because of the fact that it's like creating a puzzle, it is extremely user friendly. Apart from that, there are numerous addons and a great community. As you can see on github, Node-Red has a lot of contributors and numerous commits every week. The project is very helpful especially if you want to connect different devices or platforms.
On Node-Red you have flows that can either run on a physical machine or a docker container. You can run flows on SBC (like Raspberry Pi) or Arduino. Moreover you can run it on Amazon cloud, Microsoft Azure, Google Cloud, Alibaba Cloud or any other cloud infrastructure of your liking.
Specifically for Raspberry Pi, every Raspbian installation (most known Debian based linux distro for Raspberry Pi) installs Node-Red by default. One of the good things of the Raspberry pi community, is the great support both for software and for hardware. The hardware addons are so many that cannot be covered in just an article. The main addons for Raspberry Pi (called HATs) especially for IoT projects are :
1.Pi Sense HAT |
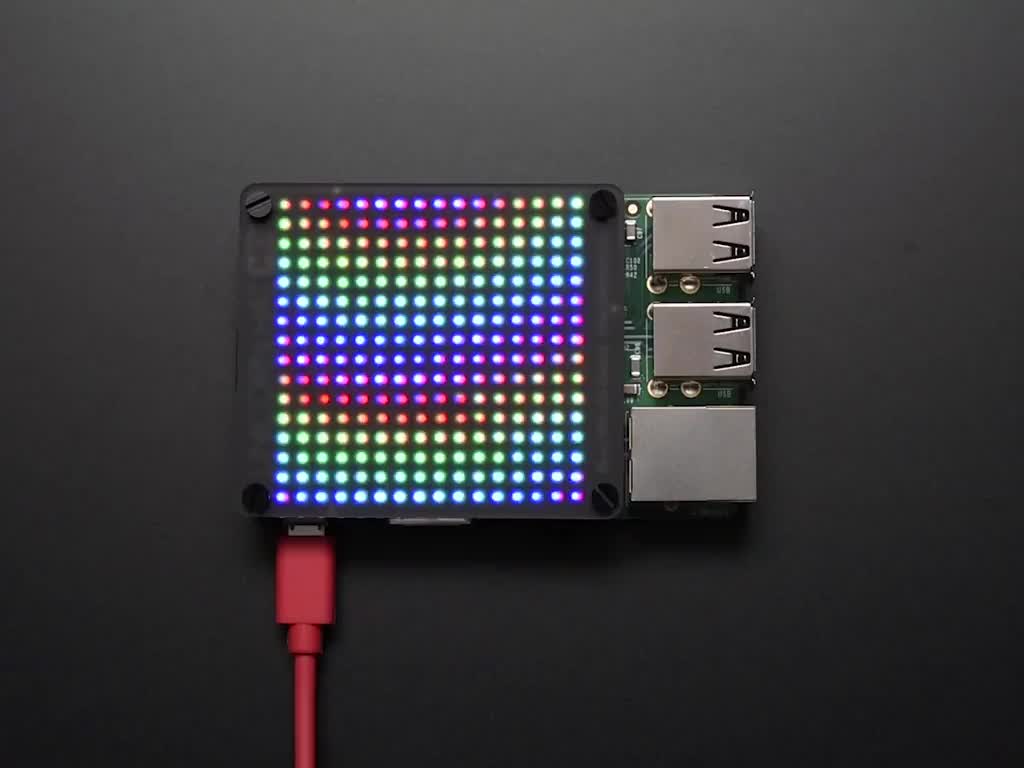
2.Unicorn HAT |
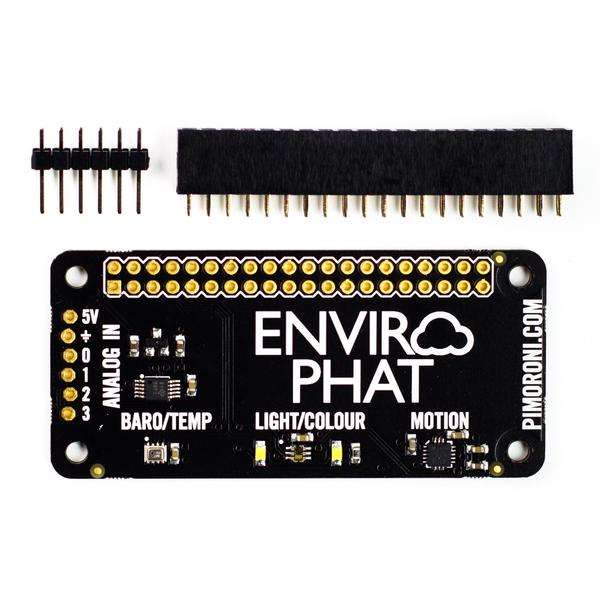
3.Enviro pHAT |
 |
 |
 |
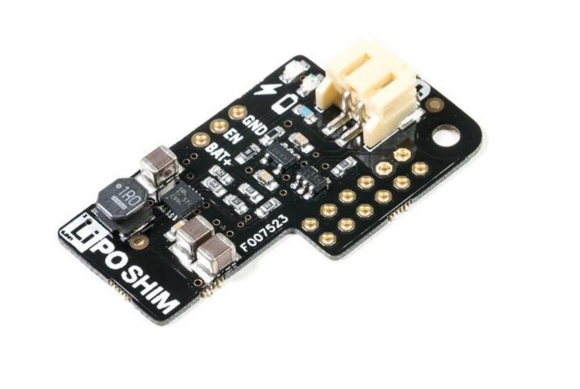
4.LiPo SHIM |
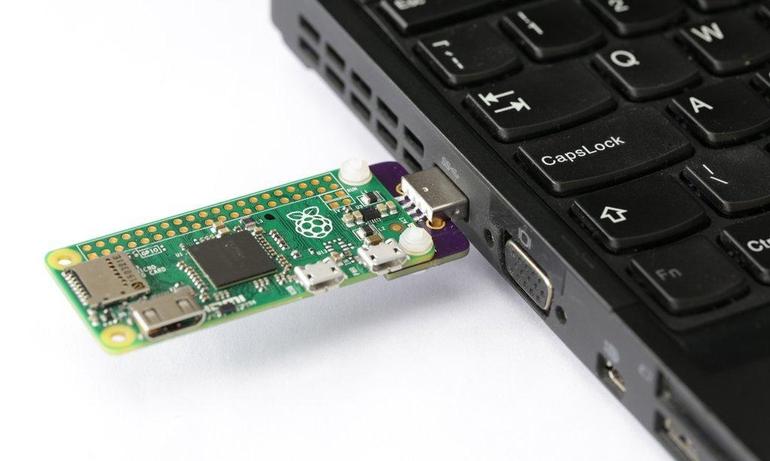
5.PiZero USB Stem |
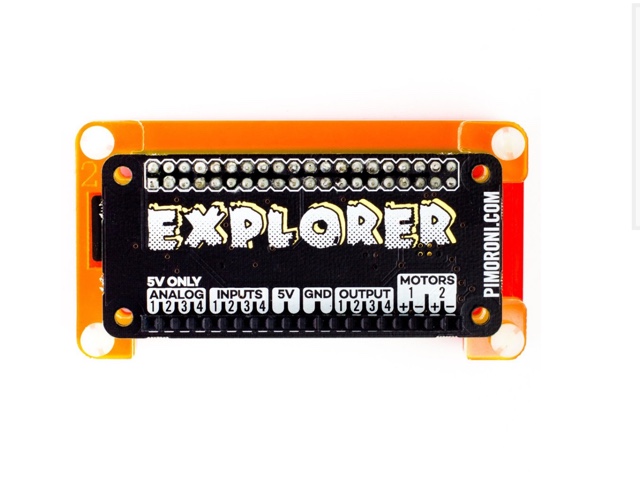
6.Explorer pHAT |
 |
 |
 |
All these addons have sensors that can monitor various things. On Node-red there are inputs and outputs as well as variables, functions and numerous other addons. It's a great tool to feed a home automation system such as Home Assistant or gather data from a fleet of devices to a database/application server.
Specifically for Raspberry Pi 4 and debian buster, node-red isn't enabled by default. This means that it's installed but not enabled to start on system's boot. On previous distros it was enabled by default.
So you just do the following to enable and start:
sudo systemctl enable nodered.service
and then:
sudo systemctl start nodered.service
The second command starts the node-red service on: http://your-raspberry-pi-ip:1880. So after getting there you have an installation of Node-red and you can do quite a lot.
For the above HATs you need to add their corresponding code. You just go to top-right hamburger menu of Node-Red  and choose "Manage Palette".
When this dialog box opens, there is a search field for all the pre-installed nodes. Just go to "Install" tab and from there you can search the following and then click on "install" button on the right section.
1. node-red-node-pi-sense-hat
2. node-red-contrib-unicornhat
3. node-red-contrib-envirophat
4. node-red-contrib-battery [as this HAT is actually a module to load a battery, this generic addon may work]
5. The PiZero USB Stem or badusb, doesn't it any software addon. It is used to make a raspberry pi zero w as a headless pc that can be plugged on a PC or to a usb charger.
6. node-red-contrib-explorerhat
After installing, any of them, you should restart your Raspberry pi or just the node-red service: sudo systemctl restart nodered.service.
On the left side you will see the addons to be displayed and now you have more tools to play with.
The complexity of flows can be overwhelming but it's something that will come as natural after tinkering with the service. After various trial and error sessions you can actually create great stuff.
One important Tip:
Every time that something actually works for you, you should make a backup. You go to the hamburger menu>Export>Clipboard and copy that text somewhere safe.
Then whenever you want, you can import the same (assuming that the new system has all the required nodes on the left) and you are done!
You can use numerous online tools to store that snippets. For example you can use Google Notes or Spreadsheet, Evernote, Notion or other notes apps. You can also use Trello.com and organize them by category and insert them as cards. Just back it up!
Finally if you want to learn more view the following video on youtube: Intro to Node-RED: Part 1 Fundamentals
